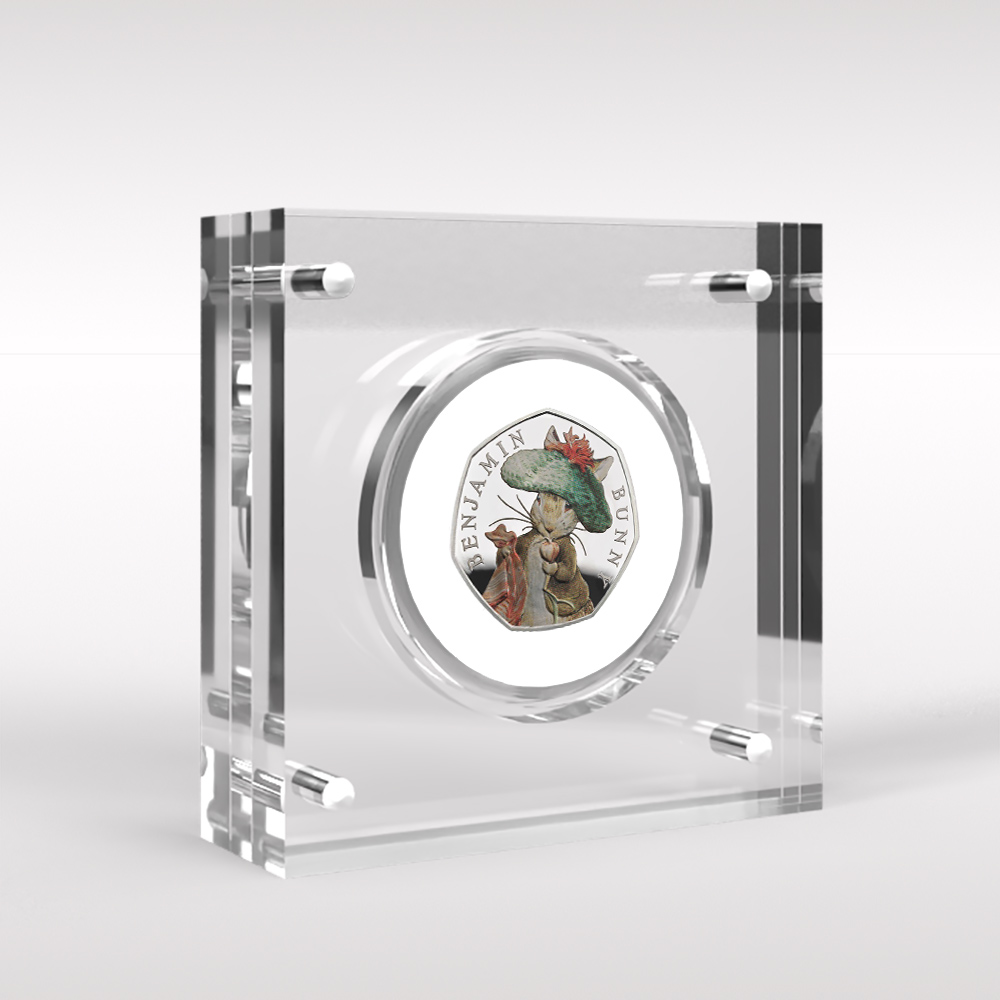
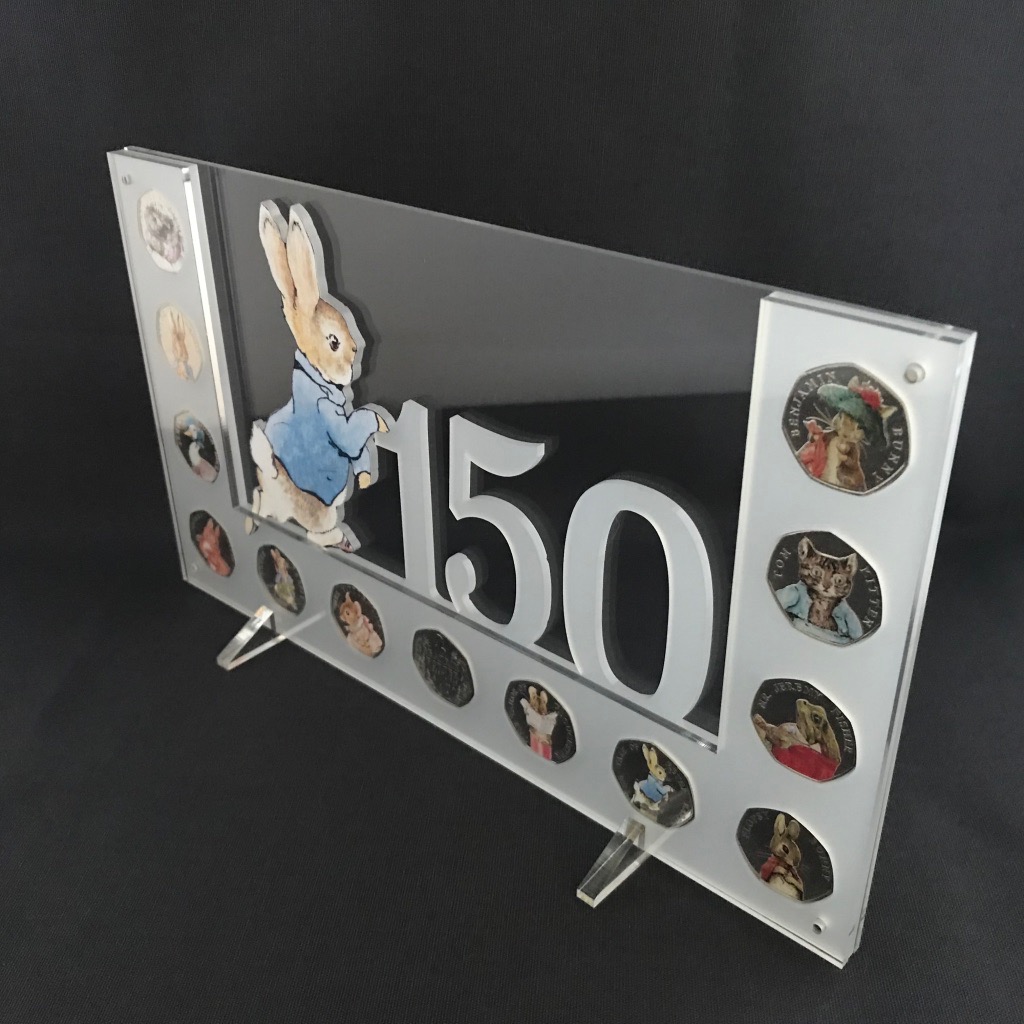
Have a unit made to your coin measurements, with personalised text options. View Bespoke
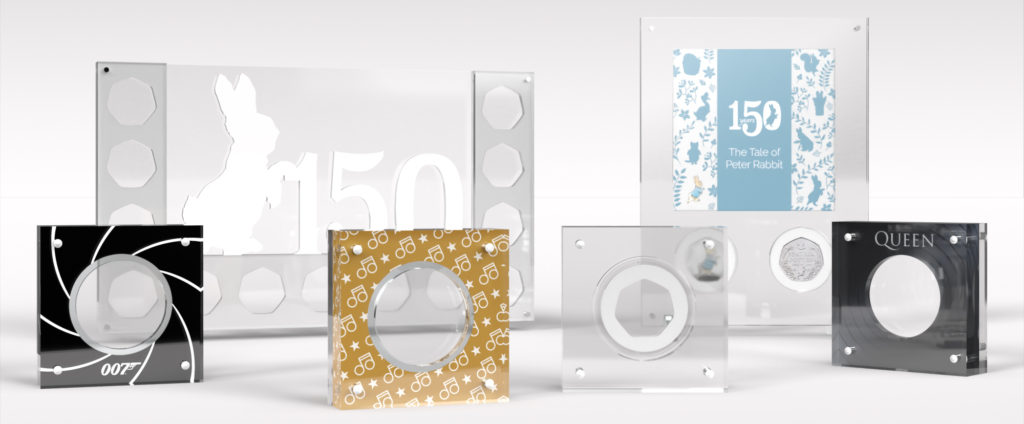
Our coin range expands as new coins are released. Sign up to our newsletter to get new product alerts and special offers!
Have a unit made to your coin measurements, with personalised text options. View Bespoke
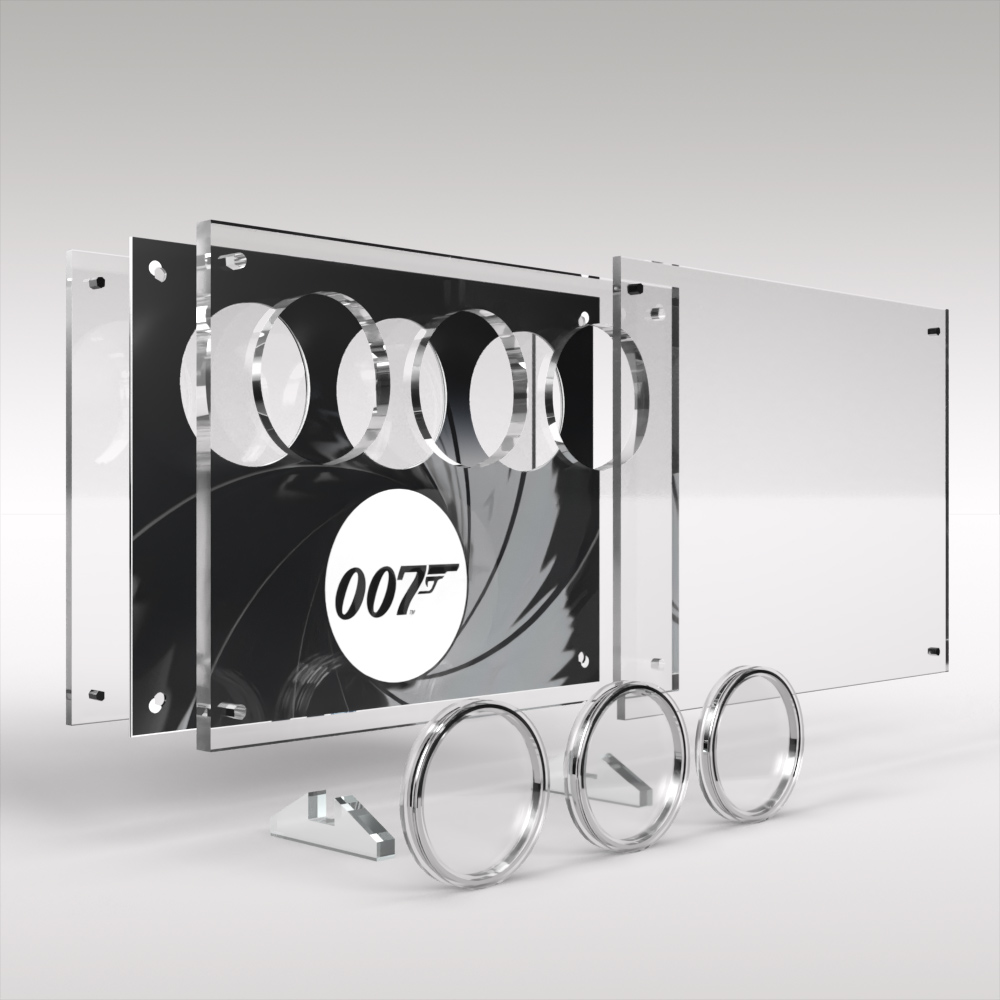
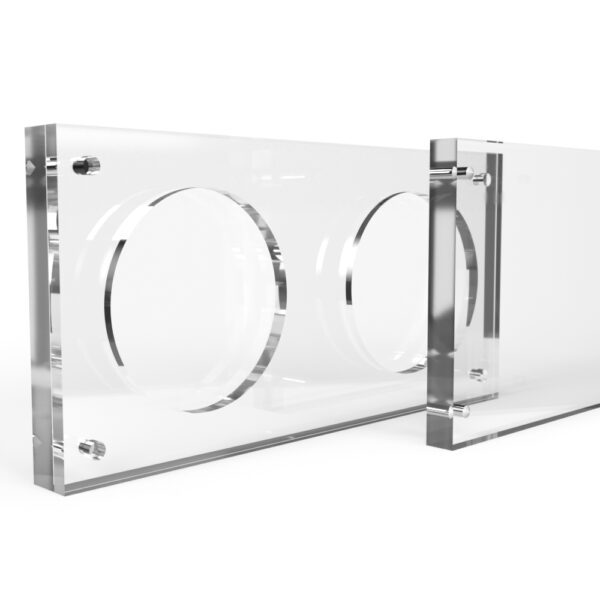
Your perspex display may and in most cases will arrive with some protective plastic film covering the perspex. Some of the protective film may have been removed for us to manufacture parts of the display, including adding magnets or printed inserts.
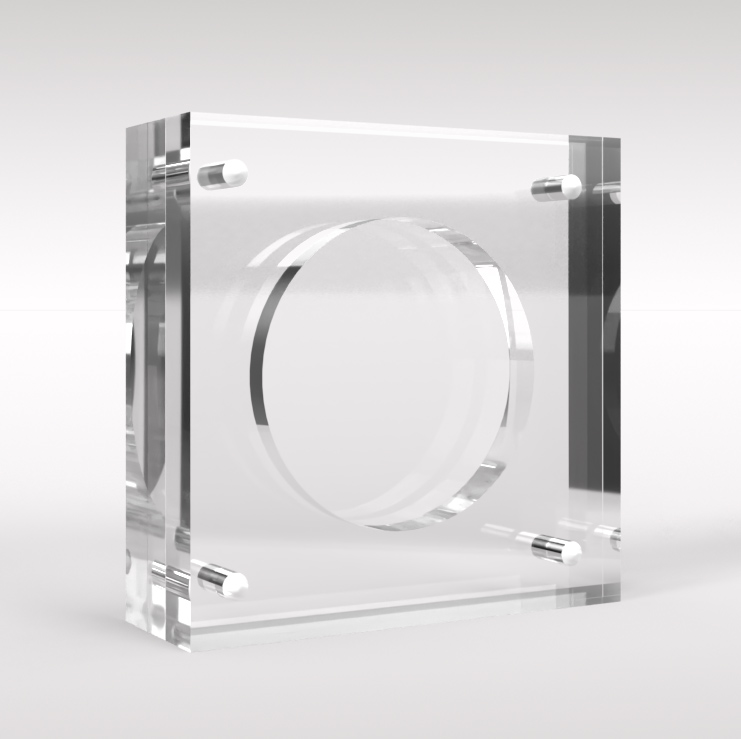
Our displays are magnetic, so all that is needed to add your coins is gently pull them apart.
Our acrylic displays need very little in the way of aftercare.
Cleaning can be done with a non abrasive cleaner such as polish and a microfibre cloth or duster.
TIP – One of the best methods to clean the display is to use your breath. Breath on the display and then wipe down the acrylic with a microfibre cloth.